
Signature Tutorial
Ok...here is my lengthy tutorial and I mean lengthy
I use Photoshop Elements 6.0 for my creative signatures are seen on TF forums. I
usually choose 2 or 3 images that may look very good together. However, be sure
that the two images do not have similar colors to touching one another.
Otherwise, it would be very difficult to see the main image. Good places to go
to are Devianart and sometimes searching for images on Goggle. When you
find images that are not in your files, save them to your computer. Go to file
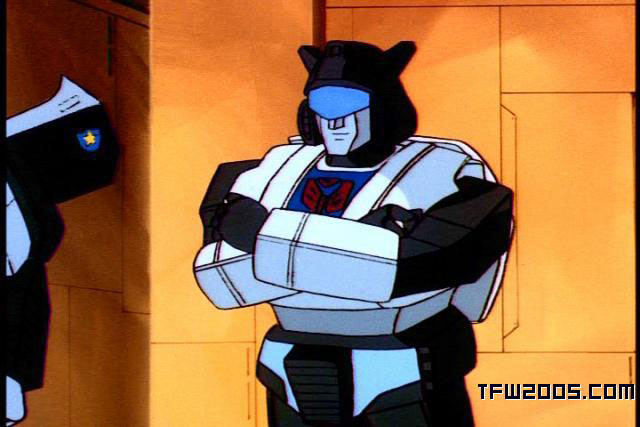
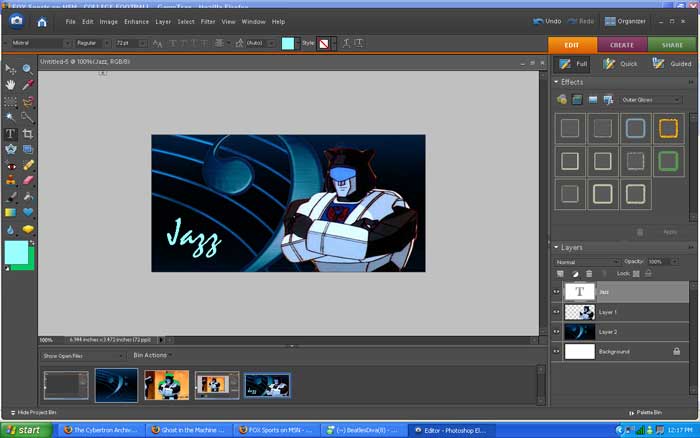
and click on open in the drop menu. These are the two images that I chose from
my files:
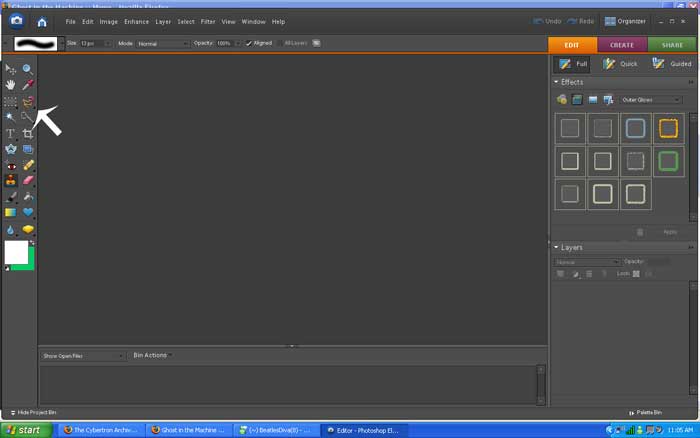
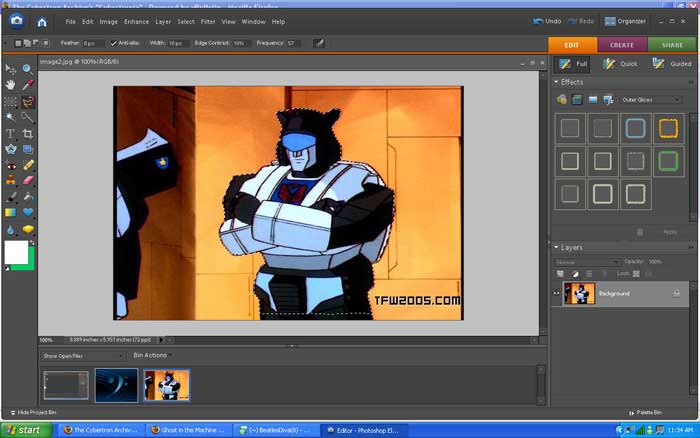
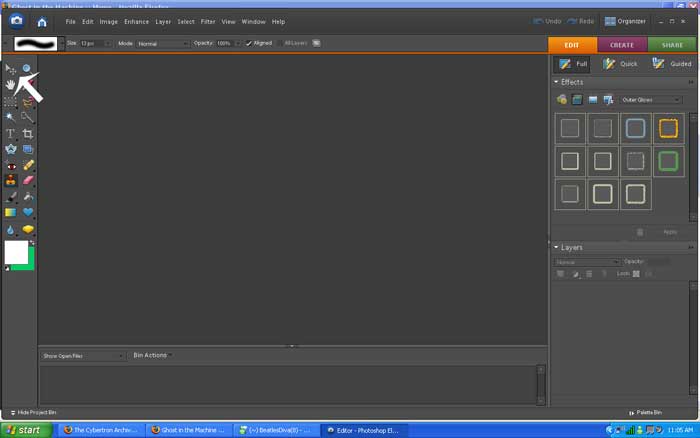
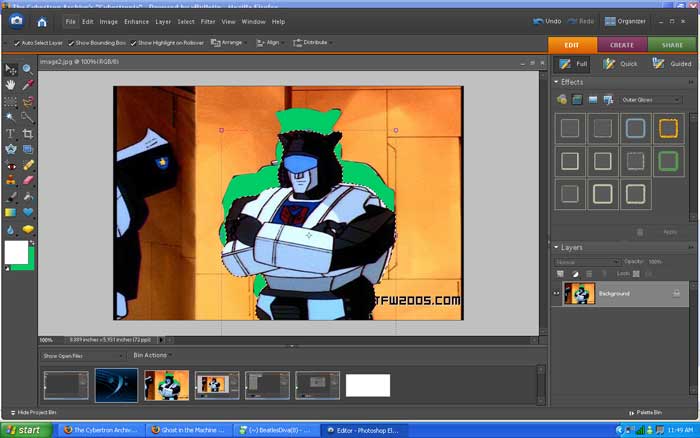
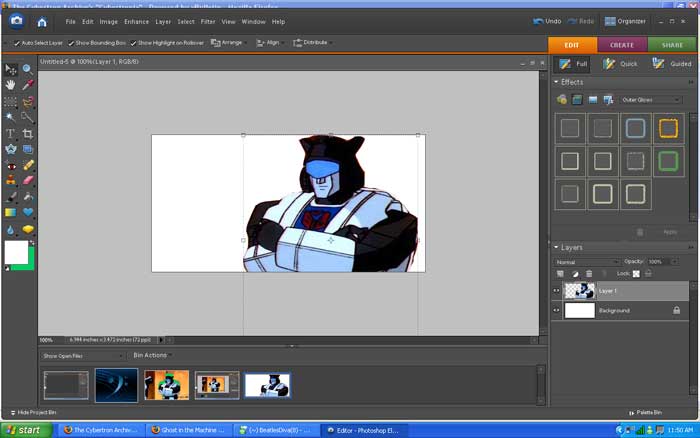
I observe the two or three images and determine what needs to be done. Sometimes I use the clone stamp function, which looks like stamp. It is located on the left-hand side. If you desire to use this function, you click on it and the cursor becomes an open circle. Place the open circle where you want to clone. In this case I do not need to, however, I used the lasso function, ,which looks like a lasso to get Jazz off of the image. The function is on the left hand side.
Just drag the lasso on the outside of Jazz until the image has "busy ants" surrounding it. They are white as indicated on the image below.
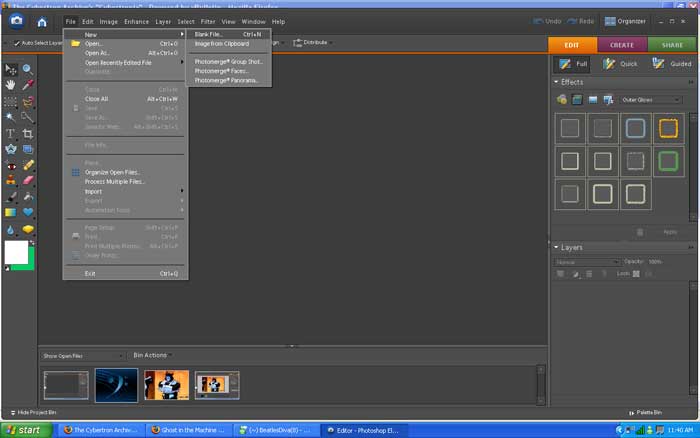
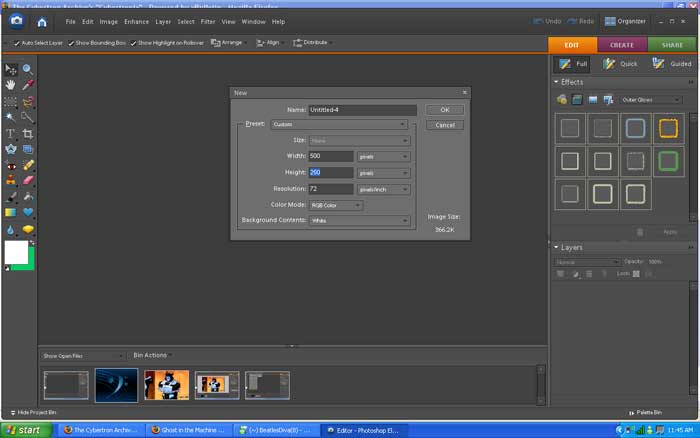
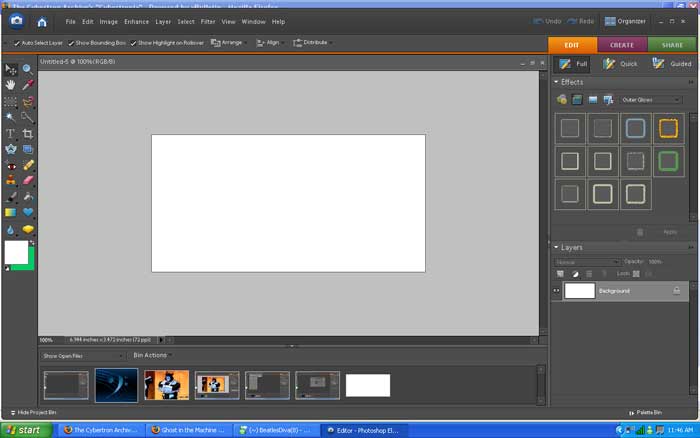
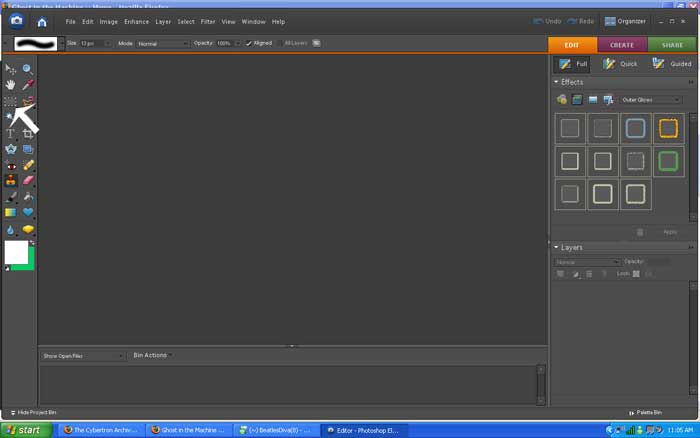
Now I have to separate Jazz from the cartoon screencap image. But I need to create a new file. So I go to file and drag it down and click on new and go to Blank file and click on it. I usually select 500 pixels for width and 250 pixels for height. Here you can give the new file a name but it is not necessary.
I go back to the Jazz image and click on the move function, which is shown below. It looks like a cursor with a compass.
When I click on Jazz, a square of white squares appear and as I drag him, the image of him separates from the main image.
result:
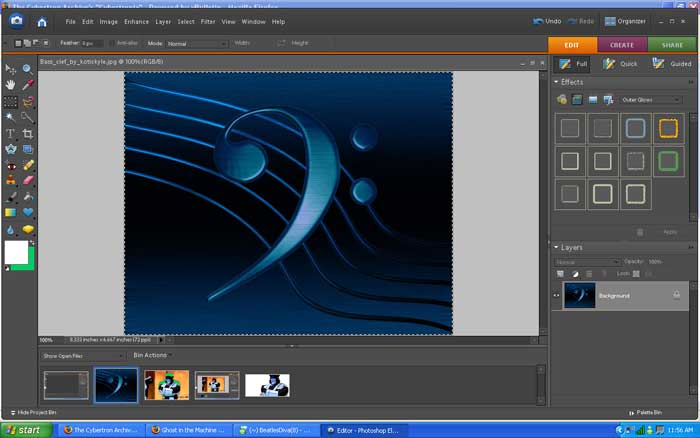
Now I need to go back and get the other image. I click on the rectangular image, which looks like a rectangular with small white dots. I click on the rectangular image.
I go to the other image. One can select the entire image or a portion of it. I chose to select the entire image. When I am done dragging the rectangular function on the outer portion of the image, I have more "busy ants".
Go back to the move function and drag it to the blank file with Jazz. However, it is covering up Jazz but no sweat. Go to the layers on the right hand side of the screen. When one is highlighted, the tab is highlighted and there are busy ants surrounding the image again. Then go to the top of the screen and go to arrange and select send backward or back.

result:
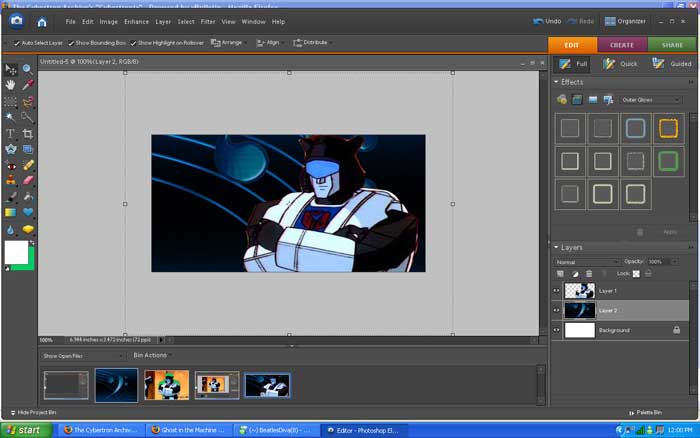
One can change the size of the character in question. Here the image sizes are not working out for me. If you do, click on the image and the layer would highlight. Click on one of the corners to bring the image to a smaller size. In my case, I made Jazz a tad smaller.

Now the background image can stay the same, be made smaller, or move around. I decided to make it smaller and move it slightly to left but also slightly stretch it. Now time for some text, which is the capital T on the left-hand side. I clicked on it and moved it to my file and typed Jazz's name but nothing showed up. The majority of the text functions are located at the top of the screen. So I go to layers and click on arrange and click on send it forward. But also, I drag the cursor so that I could chose a lighter color for my text. It shows up. With fonts and size, it depends on the user. It takes a lot of trial and error with using the font and size capabilities. I selected Mistral with a 72 pt. size, which is the largest in the drop table. But you can go higher by typing the number.
I love adding some style to my text. So with the text function, I drag the cursor over the text so that it is highlighted and it can work properly. The no and check icons would appear if I want to do some editing, I click the check mark to indicate yes. Here is one can really have some fun and play around with different design styles.
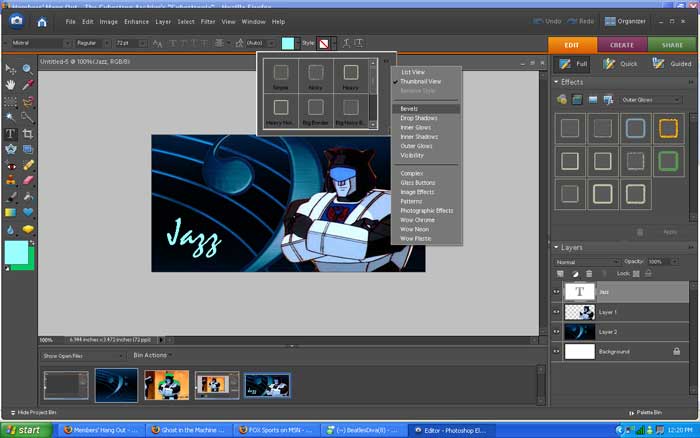
On the right hand side of the screen, there is a wide range of effects (artistic and art types) that can be added to images on the sig if one desires to. Be sure the image that you want some effects on is click/layer is highlighted. Fair warning: A person can really have some fun here and it can take a lot of time to mess with plus trial-and-error. If there are some mistakes from the lasso function at the beginning of the sig making process, I can fix them. So, I go to layer and click on merge visible on the drop down menu. Once this is clicked, there is no turning back except for using the undo button located at the top of the screen. I would use the clone stamp and fix the areas surrounding the image so that the sig looks more complete. When I am done, I go to file then select Save for the web. I usually leave my file endings as JPEG but one can use PNG or GIF endings. I click ok and give it a name. My final result:

Created on December 31, 2008 Updated on December 31, 2008 cascadia2008@hotmail.com